
Introduction:
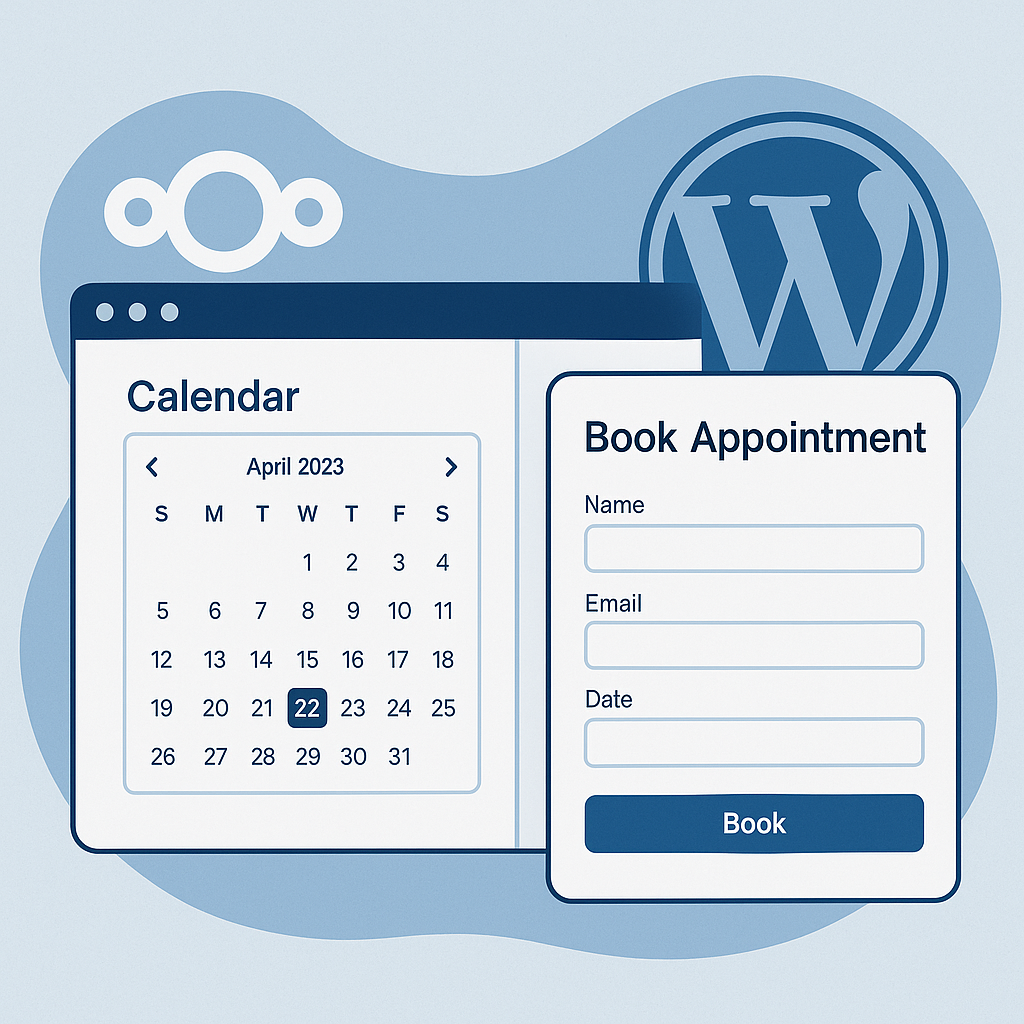
If you’re running a WordPress site and want to offer visitors a way to book appointments, schedule meetings, or reserve services directly from your website, integrating a self-hosted solution like Nextcloud All-in-One (AIO) is a powerful and private alternative to third-party services. In this guide, we’ll walk through how to set up a calendar booking system using Nextcloud AIO and embed it into your WordPress site. You can look at the Contact Us link at the bottom of this page for an example of the booking form embedded into an iframe.
Why Nextcloud AIO?
Nextcloud AIO (All-in-One) is a Docker-based package that simplifies the deployment of the full Nextcloud ecosystem. It includes core services like Files, Calendar, Mail, and even Collabora Online or OnlyOffice, all bundled into a single containerized environment.
For calendar bookings, we’ll specifically use the Nextcloud Calendar app and the Appointments app—a scheduling tool that allows external users to book time slots on your calendar.
Step 1: Set Up Nextcloud AIO
- Install Docker on your server (Ubuntu, Debian, etc.):
- sudo apt update
- sudo apt install docker.io
- sudo systemctl enable –now docker
- Pull the AIO installer:
docker run -it -p 8080:8080 -v nextcloud_aio_mastercontainer:/mnt/docker-aio-config nextcloud/all-in-one:latest
- Open your browser and navigate to
http://your-server-ip:8080to access the AIO setup. - Follow the on-screen instructions to set up your admin account and enable the necessary containers (make sure the Calendar and Appointments apps are included).
Step 2: Enable and Configure the Appointments App
- Log in to your Nextcloud instance as an admin.
- Go to Apps > Office & Text > Appointments and enable it.
- Navigate to Calendar and click the Appointments tab (calendar icon with a clock).
- Create a new appointment type:
- Set your availability (days, hours).
- Define the duration and buffer time.
- Choose the calendar where bookings will be added.
Once configured, you’ll get a public URL for each appointment type that visitors can use to book time with you.
Step 3: Embed the Booking Page into WordPress
You can now embed your booking system directly into your WordPress page or post using an <iframe>.
Example:
- Copy the public appointment URL (it should look like
https://your-nextcloud-domain.com/apps/appointments/s/XYZ123). - In your WordPress post or page, switch to the Custom HTML block.
- Paste the following code:
<iframe src="https://your-nextcloud-domain.com/apps/appointments/s/XYZ123"
        width="100%"
        height="600"
        frameborder="0"
        style="border: none;">
</iframe>
Replace the src value with your actual appointment link. You can adjust the height and width as needed.
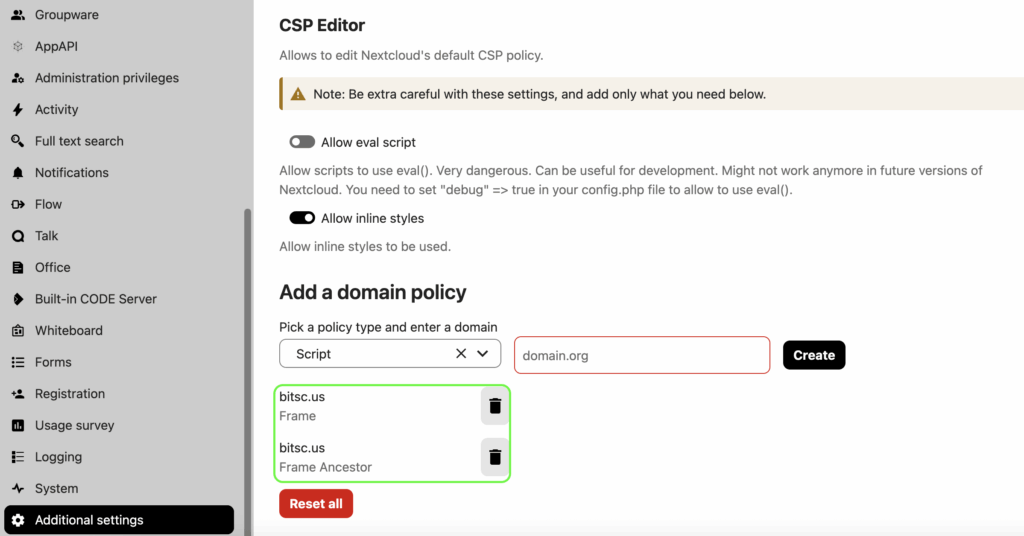
Step 4: Adjusting Security Settings
With the default configuration, you may not be able to see your embedded calendar booking form, due to Nextcloud’s default security settings. To rectify this, we’ll use a Nextcloud app called CSP Editor, which will edit Nextcloud’s Content-Security Policy and is persistent across updates. Search for and install CSP Editor in Nextcloud’s apps page, the go to Administration Settings–>Additional Settings and create the following entries under the CSP Editor section:
Frame: your-domain-name.com
Frame Ancestor: your-domain-name.com
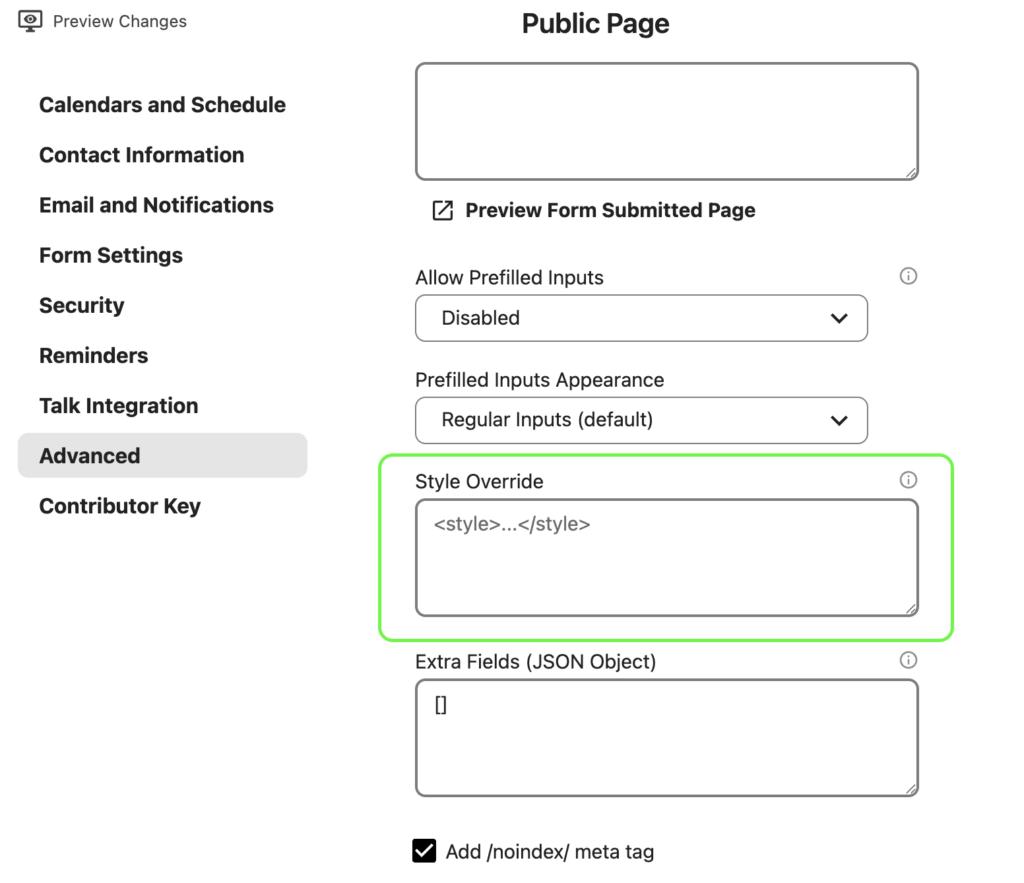
Step 5: Customizing the Appearance of the Booking Form
Go to Appointments–>Public Page Settings–>Form Settings–>Advanced Form Settings and add your custom CSS in the Style Override field as seen below:
Benefits of Using Nextcloud Appointments
- Full data control: Bookings are stored on your own server.
- No third-party tracking or ads.
- GDPR-compliant scheduling system.
- Works seamlessly with your Nextcloud Calendar, integrating with desktop and mobile clients via CalDAV.
With Nextcloud AIO and the Appointments app, you can run a fully-featured, privacy-focused calendar booking system from your server. Embedding it in WordPress is as easy as dropping in an iframe. This is a fantastic option for freelancers, educators, consultants, and anyone who wants to avoid handing over scheduling data to Big Tech.